Get Your Shred On!
Snowboard Tricks and Tips
Snowboarding has come a long way since 1965 when Sherman Poppen rigged a board out of two skis for his daughters to slide on in his Michigan backyard. Poppen invented the Snurfer, the first commercially-made snowboard. I rode Snurfers throughout the 1970s.
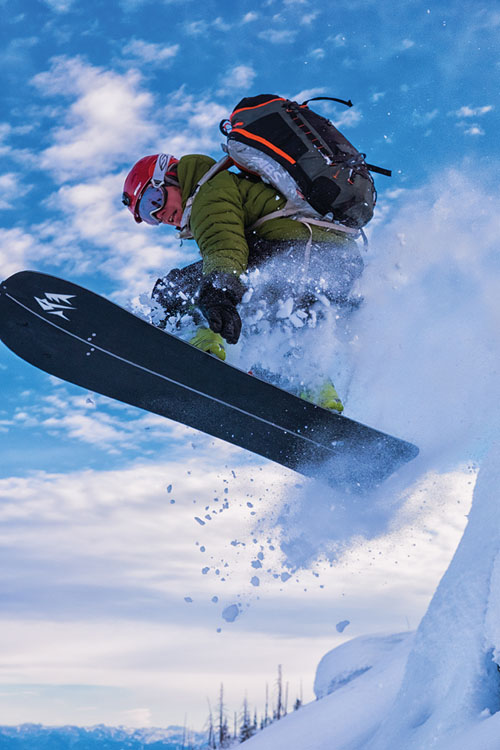
Snowboarders can choose amongst slalom, freestyle, carving, park riding, halfpipe, backcountry (using split boards), boardercross, slopestyle and big air. A hybrid of surfing, skateboarding, and skiing, snowboarding has influenced all three of its parent sports. Top snowboarders like Chloe Kim, Red Gerard, and Shawn White are household names.
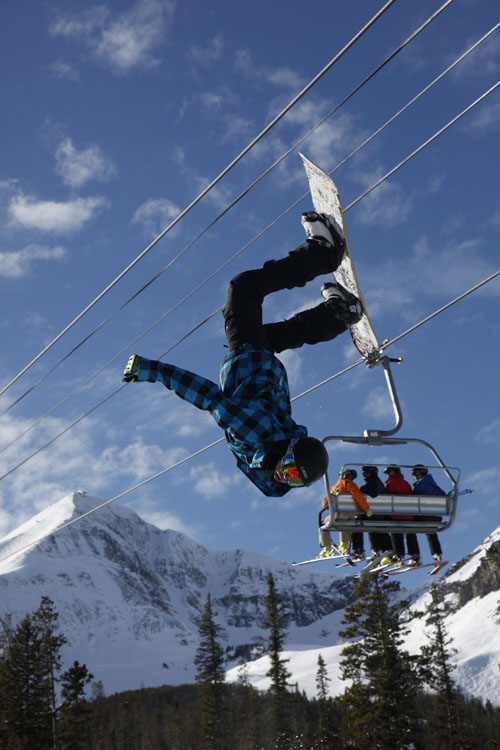
Now a fixture at the X-Games and Olympics, professional snowboarding continues its astounding advance as tricks get crazier with every competition. A discerning eye can pick out the dizzying tricks of a professional snowboarder as they spin and flip. From a basic turn to a Cab 1260 Shifty Roast Beef or Backside Triple Cork 1440, the possibilities are endless. Shawn White took home his third Olympic Gold in 2018 with back-to-back 1440s (quadruple spins) in the halfpipe.

Trying to stand on a moving snowboard for the first time, it is hard to fathom the progression to such insane and dangerous tricks. How do you even get started with snowboarding? If possible, take some lessons. Popular mountain resorts around Montana offer excellent lessons for anyone from beginner to advanced.
I taught snowboarding for several years, and the most common story I heard from beginners was that their friend or sibling took them up the lift and turned them loose. “You’ll figure it out!” “ Just TURN!!” The result was often a beat-up beginner with a fear of snowboarding.

Basics
Safety equipment for a snowboarder includes a helmet, goggles or sunglasses, wrist guards, and gloves. Consider knee pads and hip pads for learning. Use snowboarding boots which have an inner boot and lace up tight. They are easy to walk in. Wear loose, waterproof pants, and parkas.
A snowboard has two edges instead of four that skiers have, so you ride on one edge at a time, and don’t use poles. Your feet are locked in with no binding release mechanism. Expect to fall a lot and spend a lot of time sitting/kneeling in the snow and getting up and down. When you fall, tuck your arms in, and roll to avoid wrist injuries.

Get a board that is the right size and shape for you. It should come up to about your nose. Ask a sales professional about what you need. Keep the board edges sharp and the base waxed.
Like a surfer, you ride with either your left foot forward—“Regular Foot”—or your right foot forward—“Goofy Foot.”
Your snowboard bindings need to be set up accordingly.
Start your snowboarding career with a few simple moves. Skating is a great way to get used to being on a board, and it’s essential if you want to ride a ski lift on a board (you load and unload the lift with your rear foot out of the binding). Clip in your front binding only. Now stand and push yourself along with your free foot, like a skateboarder. You can push from either side of the board.

 Clip into one or both bindings and stand on the board on a flat spot. Line your body up sideways with the board. Extend your arms along the board. Resist the urge to twist your torso around to face the front. Turn only your head. Keep your knees flexed; don’t lock ‘em or you will tip right over. This is your basic riding position. With both bindings clipped on, try jumping the board in the air, and rocking your weight back and forth on either end of the board.
Once you are comfortable skating, find a small hill with a flat or uphill runout. Get a friend to help steady you. Point the board downhill, step your loose foot onto the board in front of the rear binding and try your first straight glide. Once you slow down or stop you can step that foot off to catch yourself. Now try it with both feet locked in.
Next you can try an actual hill (start small!). Heelside sliding is easiest. Get a little speed, then lift your front toe. This twists the board and puts pressure on your heelside edge. Try turning to a stop. Now link several of these semi-turns across and down a slope, to make a “garland.” Next try that on your toeside edge. This is harder and more intimidating because you have your back facing downhill.
It may seem like the board just wants to take off. Your job is to control it. Using tilting movements, pivots, twists and pressure distribution, you become master of this slippery thing attached to your feet.
Another control technique is a traverse. Slide across the slope on one edge and come to a stop. Now slide back across on the same edge. You are now riding “switch” (backwards). Eventually you want to link up those heelside and toeside turns—this is a tough progression but essential. Don’t be that gaper that sideslips all the way down the hill, scraping the snow off.
When linking turns keep your upper body still and in line with the board (sideways). Don’t crank your upper body around as this will make you turn when you don’t want to. Try not to flail your arms—keep them in line also. Make a snowball and hold it out in front of you, keep it as still as possible. Or try it with a plastic cup of water without spilling.
First tricks to learn
You’ve got the basics down and can link turns down a blue run. Time to get steazy.
Start by learning how to “press” or weight the nose or tail. This will help you figure out how to flex your board and distribute your weight. Next work on your Ollies—press your weight on the tail and spring into the air. Spinning aerial 180s should come next. Work it frontside (start with this) and backside, try it switch too. Combining 180s and presses gives you a tasty-sounding butter-nose roll, where the nose of the board stays in contact with the snow.
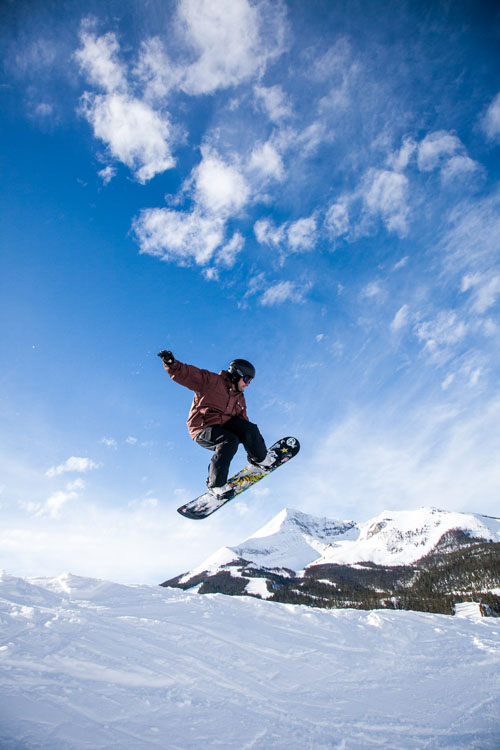
Next, take it to the park. Most ski areas feature terrain parks with rails, boxes, lips, gap jumps and random objects to slide on. Get your “straight airs” dialed, then try for an indy grab—flex your knees and grab your heelside edge before releasing and landing. Now look for a flat box and go for a 50/50 (straight) slide. Remember you cannot edge or turn on the box so line up your approach carefully.
Grabs add style to any aerial trick, and there are many styles of grab (Indy, Japan, Mute, Nose, Tail, Stalefish, Roast Beef, Two-handed, Double, etc.). Grabs show control and are harder than they sound.

Time to take it up a notch. Try a frontside “shifty” where you catch air, crank the nose of the board around then straighten out for your landing. Take this to the box and do a back boardslide, which is basically a shifty while sliding across the box, bringing it back to straight for the landing. Time for a “3” or 360 spin. Find an open slope and aim for a front 360. Sick!
Stomp these 10 tricks and you will have an excellent start on advanced snowboarding. Now go shred.

Leave a Comment Here