 Jenna Caplette migrated from California to Montana in the early 1970s, first living on the Crow Indian reservation, then moving to Bozeman where she owned a downtown retail anchor for eighteen years. These days she owns Bozeman BodyTalk & Energetic Healthcare, hosts a monthly movie night, teaches and writes about many topics.
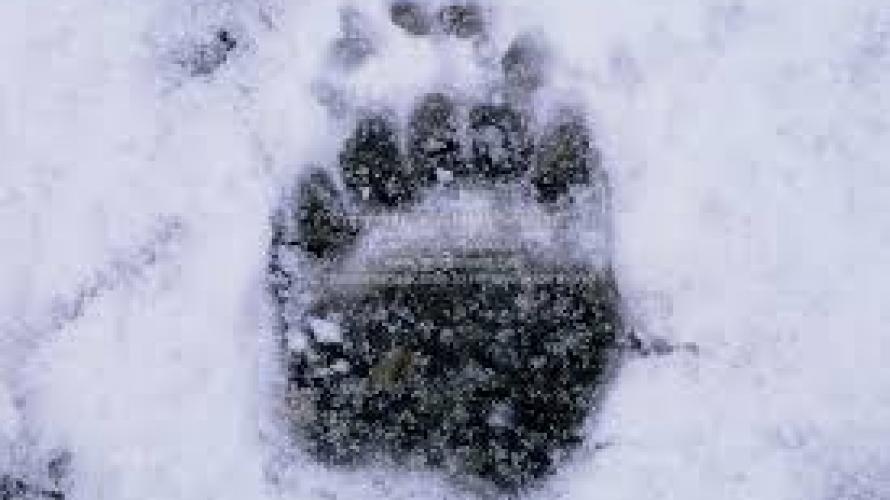
In winter’s snow, tracks become mysteries that invite exploration. Wander a hillside and find where deer slept, where they cleared snow to browse, where a mouse scurried for cover, maybe where a raptor captured it. Look for the passage of endangered or threatened species, animals you may never see, but whose tracks reveal their presence. Tracks can also tell you more about an animal you just saw. It’s wonderfully fun and mysterious to decipher the clues, to see what stories the tracks tell.
How you photograph tracks, the designs they create in the snow, their expression of movement over time, depends on your intended use of the image. Is it academic or artistic? Either way, the first rule of tracking is a good track gives good information, a bad one, little to none. Check 100 yards in either direction to study the details in each print. Look for clearly defined impressions of claws, toes and the inter-digital pad. You can find good tracks in any kind of snow but it can be harder to find a good track in deep powder because there’s little to no definition. Sometimes small animals leave the best tracks because they hurry along the snow’s surface.
When photographing tracks, you won’t need much in the way of specialized equipment. In fact, most tracks are big enough to photograph without a special lens pack. Do pack along a good guide book. “Scats and Tracks of the Rocky Mountains; A Field Guide to the Signs of Seventy Wildlife Species,” by Gardiner’s master tracker, James Halfpenny, is a concise and valuable guide that will easily fit in your camera bag or pack.
When making “academic” images of tracks, begin by taking an image of the track as you found it. The edges of the track define how big it is. Use something with a straight edge to “scale” the track. A ruler works best. Don’t use pennies, nickels, or a key chain as size markers for academic images. Definitive measures of size will help you determine what animal made the track. Be sure to shoot tracks straight on for identification, not from an angle. Take several pictures. Halfpenny, who teaches in and around Yellowstone, advises, “Shoot, shoot, shoot. We used to say its ‘just film,’ but now, with digital, I tell students, ‘Spend a few electrons.’ ”
Marsha Phllips of F-11 Phoitographic Supplies advises, “For artistic images of tracks, all photographic rules of composure and lighting apply. Try various angles including a long view. Be careful. A flash will blow out your detail. If you have to use one, try moving it off of the camera at a low power setting. Better still, bounce the flash off of something white like a pocket sized photo reflector. Low directional light is best to make a track standout. In harsh sunlight, you get such harsh contrast you can’t see the track. In soft light, there’s less detail.
“You can use a mirror or a flashlight to reflect light on to a track,” Philips adds. “Or, if there’s too much light, use someone’s shadow to shade.
The joy of digital photography and image editing software like Photoshop is that you can adjust the contrast of an image or sharpen the detail on a track. Don't rely on that fix, though. Remember the basic rule: you can’t make a good image from an indistinct track. As Jim Halfpenny phrases it, “Garbage in, garbage out.” Take the time to find the best track and take several images.
Enjoy and share the story of your winter discoveries.